Cisco Webex
Cisco Webex is a collaboration software which allows you to set up online meeting with participants. Integrating your Cisco Webex account with Zoho CRM allows you to create events/meetings using Cisco Webex directly from Zoho CRM.
Setting up the integration
This integration can be set up from Marketplace in Zoho CRM.
To setup integration
- Log into your Zoho CRM account with administrative privileges.
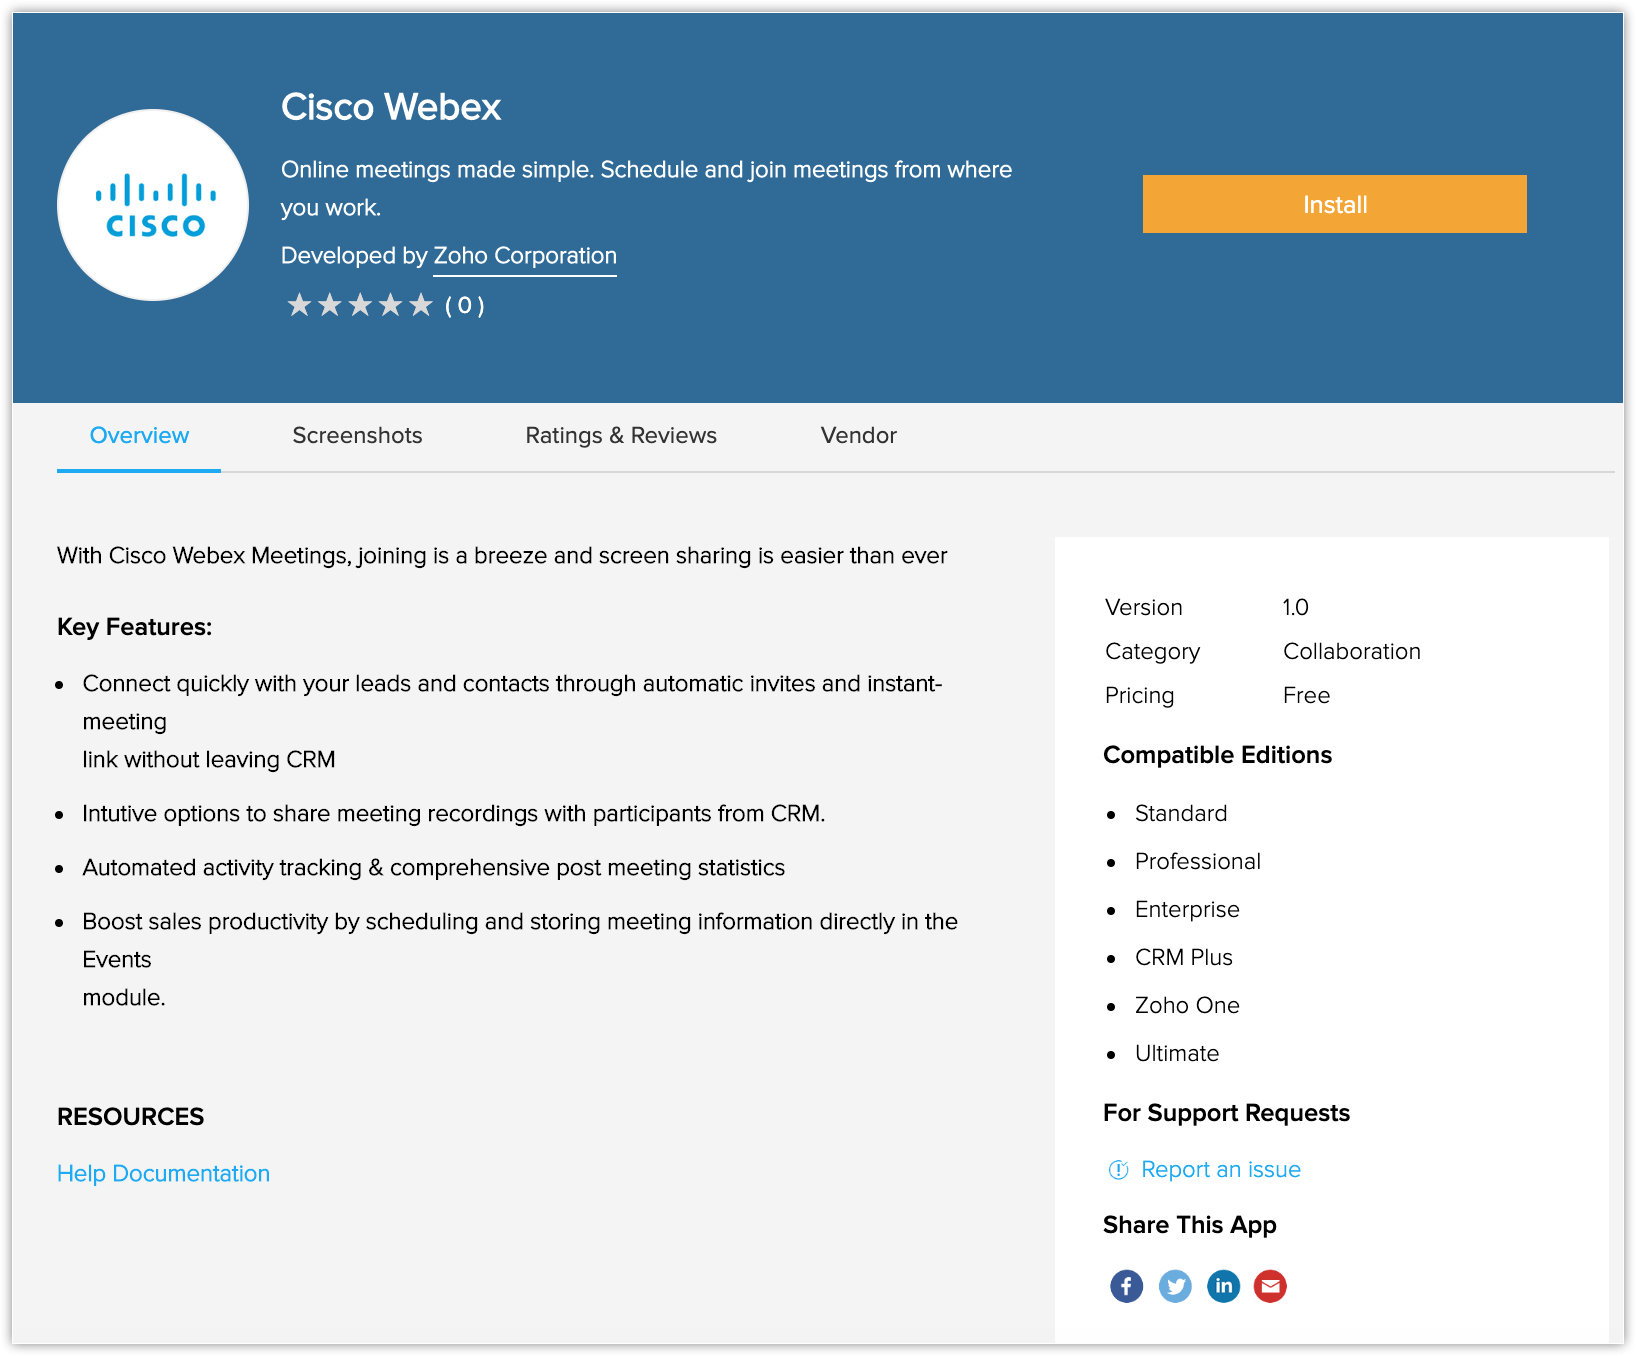
- Go to Setup > Marketplace > All and search for Cisco Webex.
- Click Install.
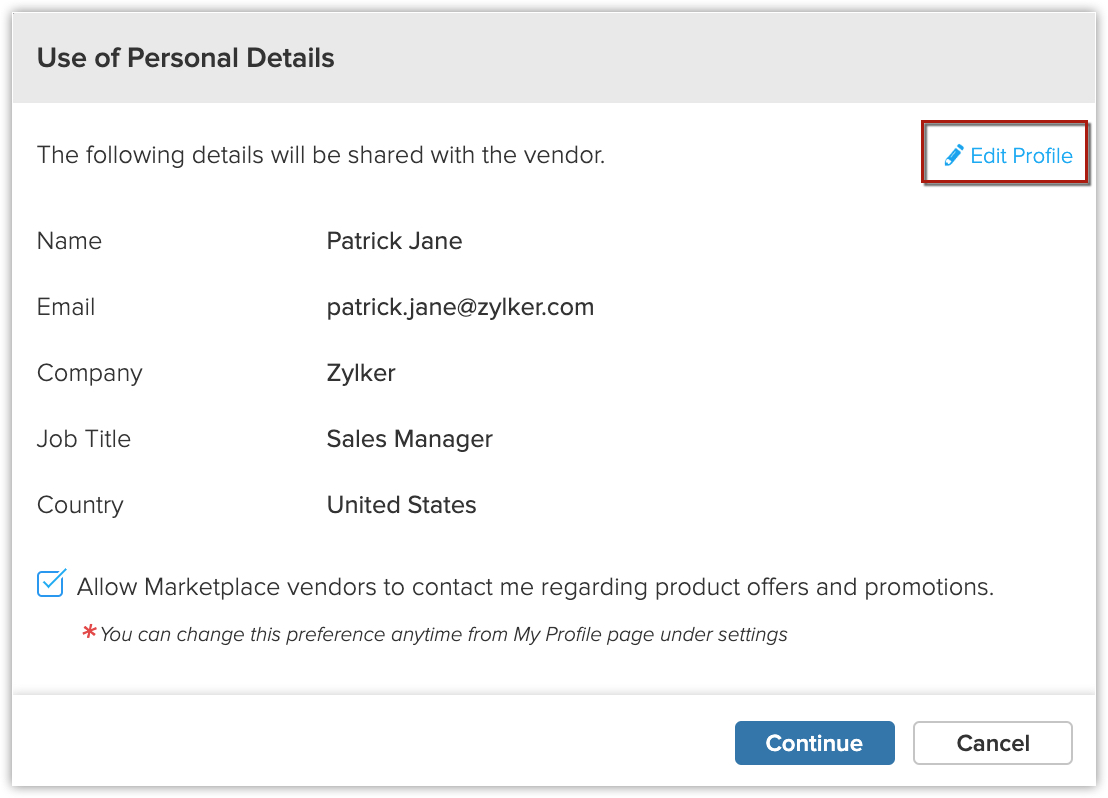
- In Use of Personal Details popup, edit profile if required and click Continue.
- In the Confirm Installation popup, click Install.
- Click Enable Cisco Webex.
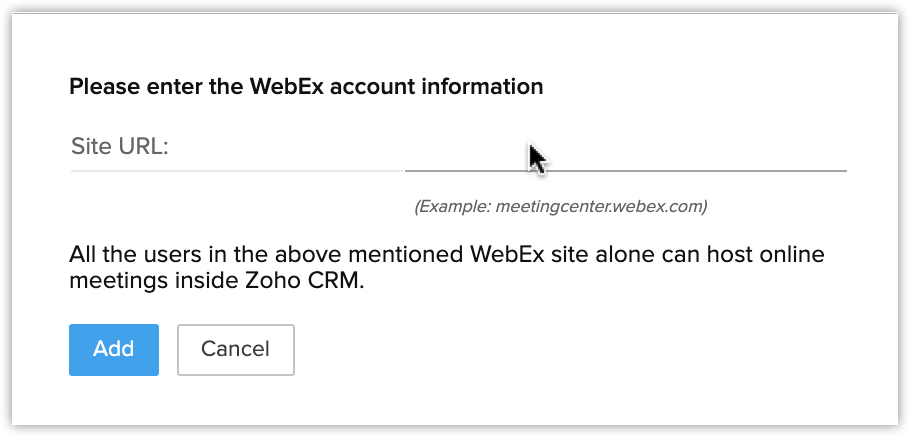
- Enter the Site URL in the popup and click Add.
Scheduling an online meeting
Once the integration is enabled, you can create a meeting in Cisco Webex from Zoho CRM.
To schedule an online meeting
- Go to the Meetings module.
- Click + Event.
-
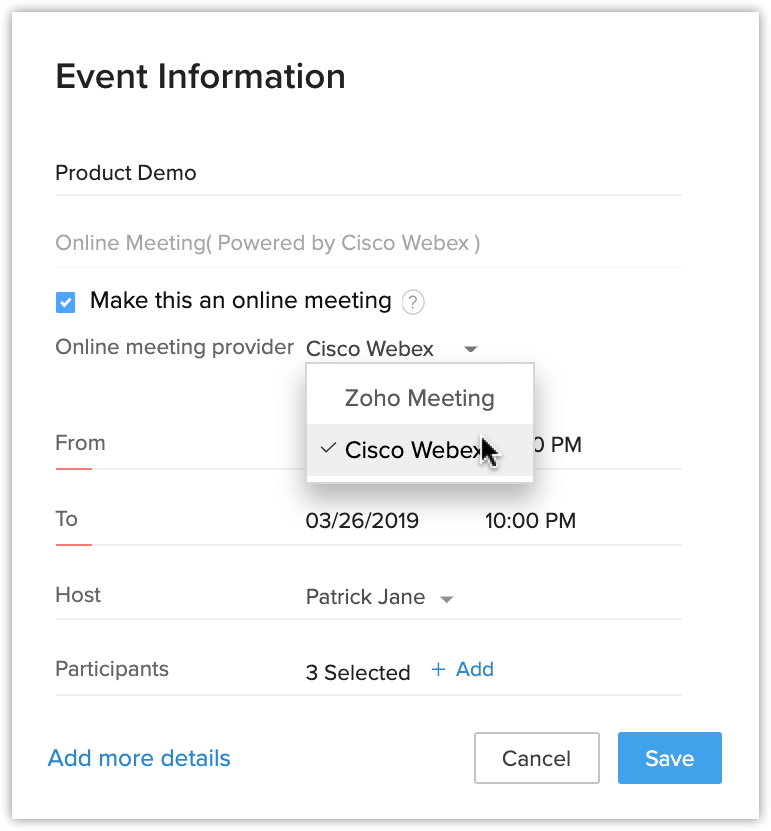
In the Event Information page, do the following:
- Enter the Event Name.
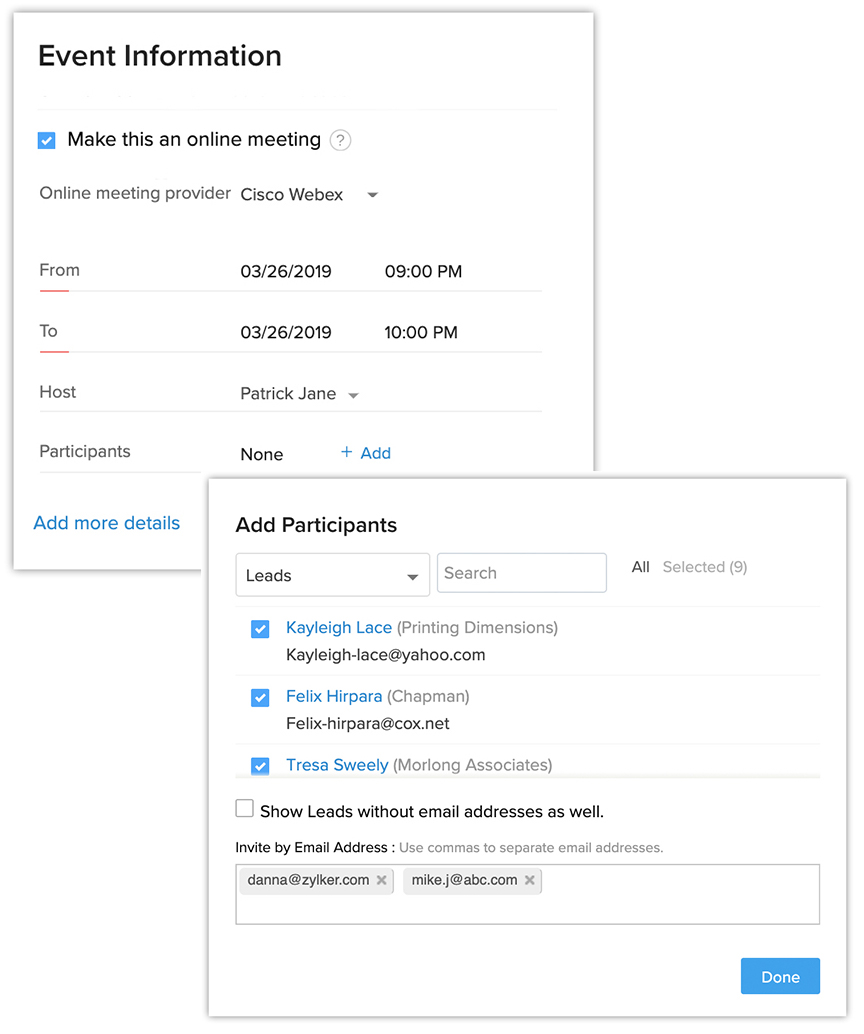
- Enable Make this an Online Meeting checkbox.
- Choose Cisco Webex from the Online Meeting Provider drop-down list.
- Authorize your Cisco Webex account by clicking Authorize Cisco Webex in the popup.

- Enter Site URL, User Name and Password in the popup.
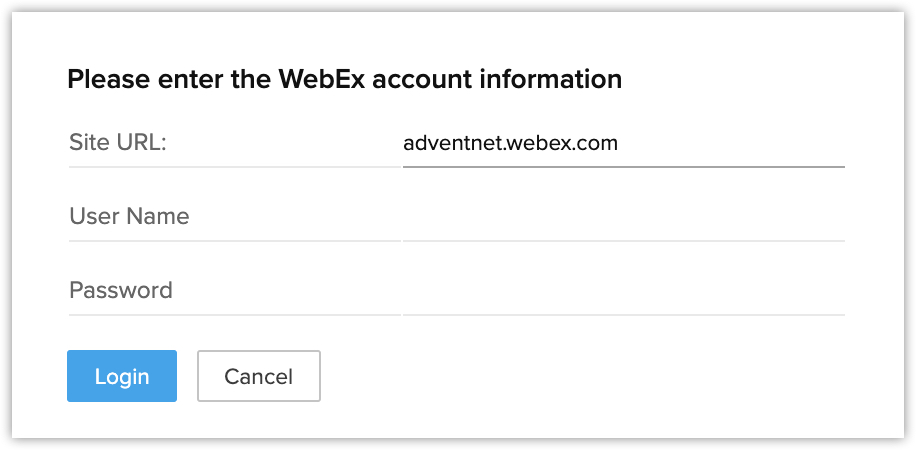
- Click Login.
- Enter the duration of your meeting in the From and To fields.
You can also enable the All Day checkbox, to fix your meeting for the entire day. - Select the Host for the event from the drop-down list.
- Click + Add, select participants for the event and click Done
 .
.
- Enter the Event Name.
- Click Save.
To schedule events from calendar
- Go to the Calendar.
- Select the date to which you would like to add the event and click New Event.
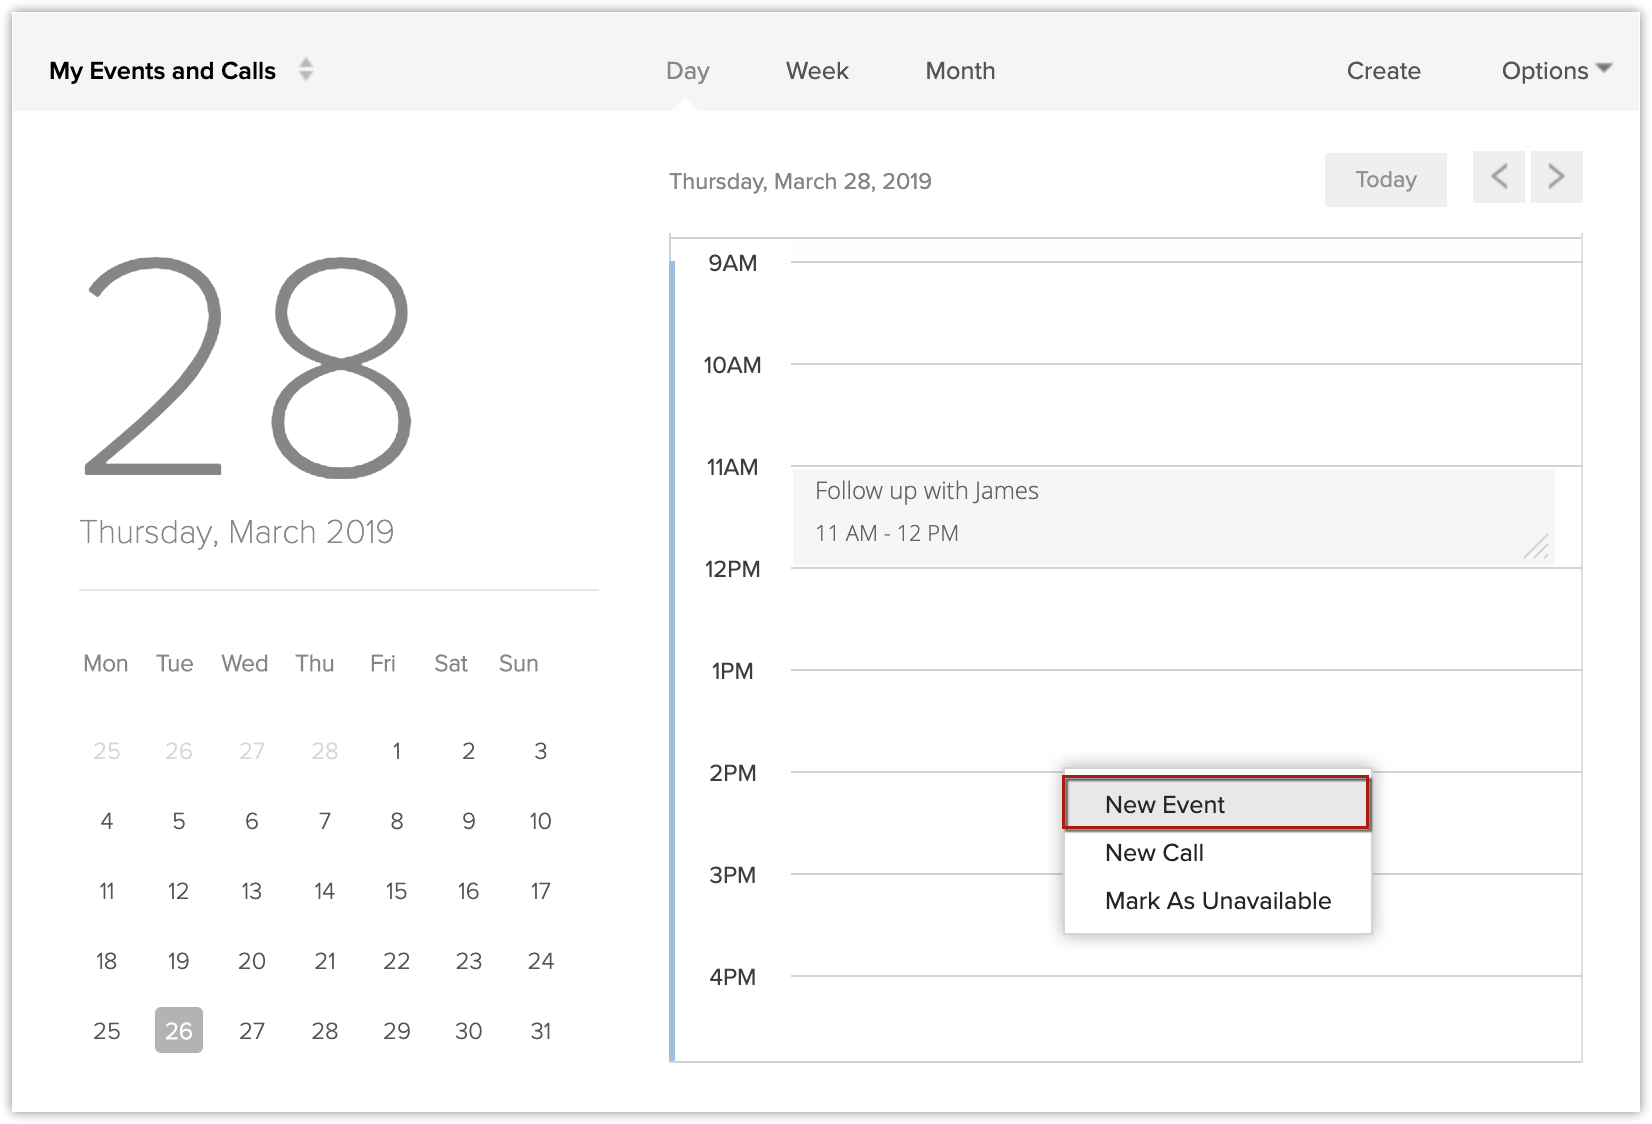
- Follow the steps as above and enter the Event Information.
- Click Save.
Inviting participants
Once the event is created you can invite participants from the record details page.
To invite participants from the record details page
- Go to the Meetings module.
- Select the Event to which you want to add participants.
- In the Participants section, click + Add.
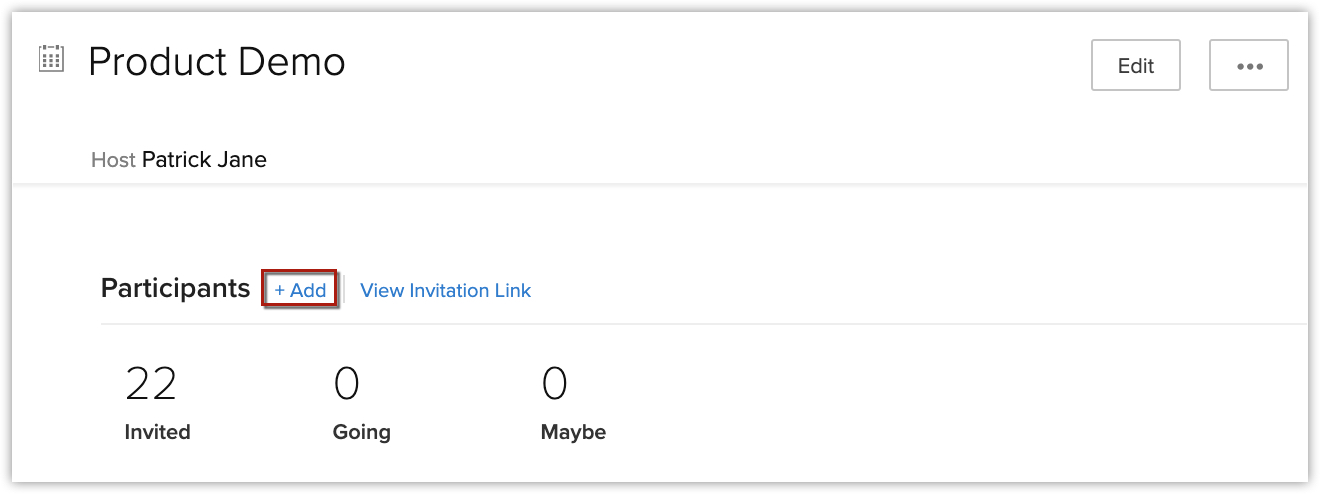
- Select the participants.
You can also enter the email addresses of participants you would like to invite who are not part of your CRM account. - Click Add.
- Click Send in the popup.
An invitation will be sent to the participants.

- You can also add participants while editing the event.To invite participants while editing
- Go to the Meetings module.
- Select the event and click Edit.
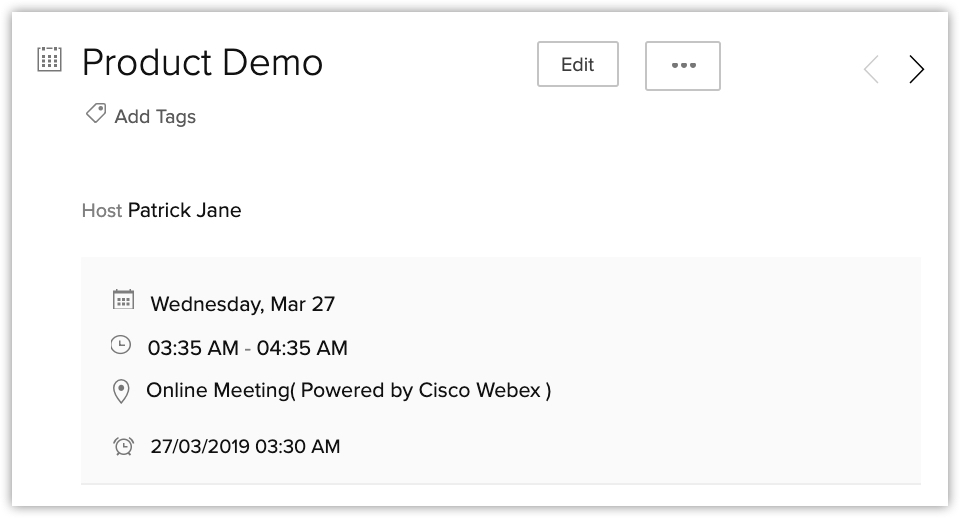
- Click + Add and select participants for the event.
You can also enter the email addresses of participants you would like to invite who are not part of your CRM account. - Click Done.
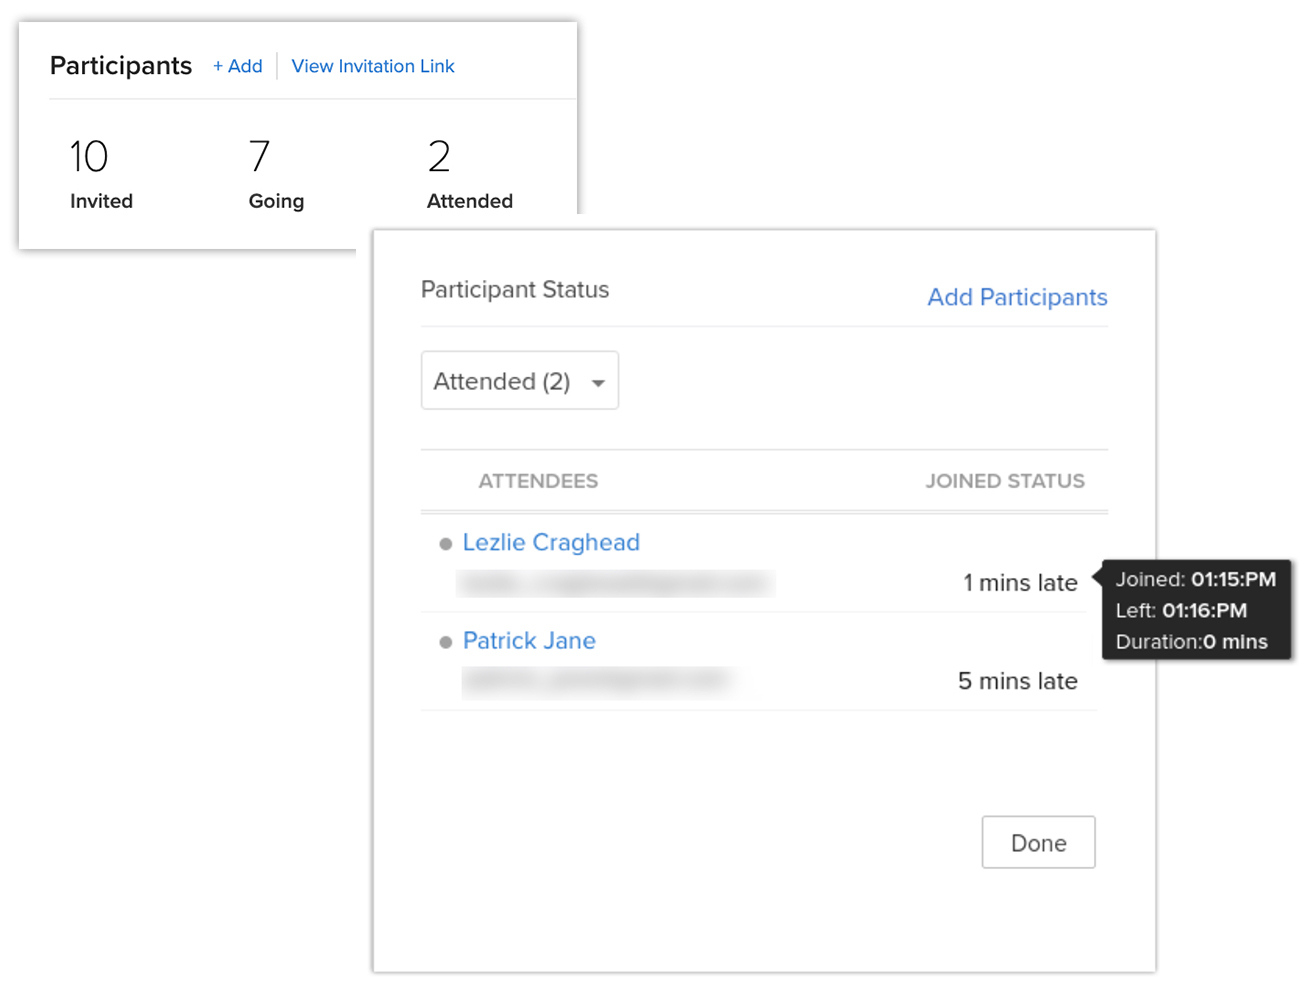
- You can view the attendee details by clicking Attended under the Participants section in the record details page.
Setting up an instant meeting with a record
If you want to set up a meeting with your lead or contact immediately, you can use the Meet Now option from the record's details page.
To set up a meeting instantly
- Go to the Leads/Contacts module.
- Select a record.
- Click More > Meet Now > Cisco Webex.
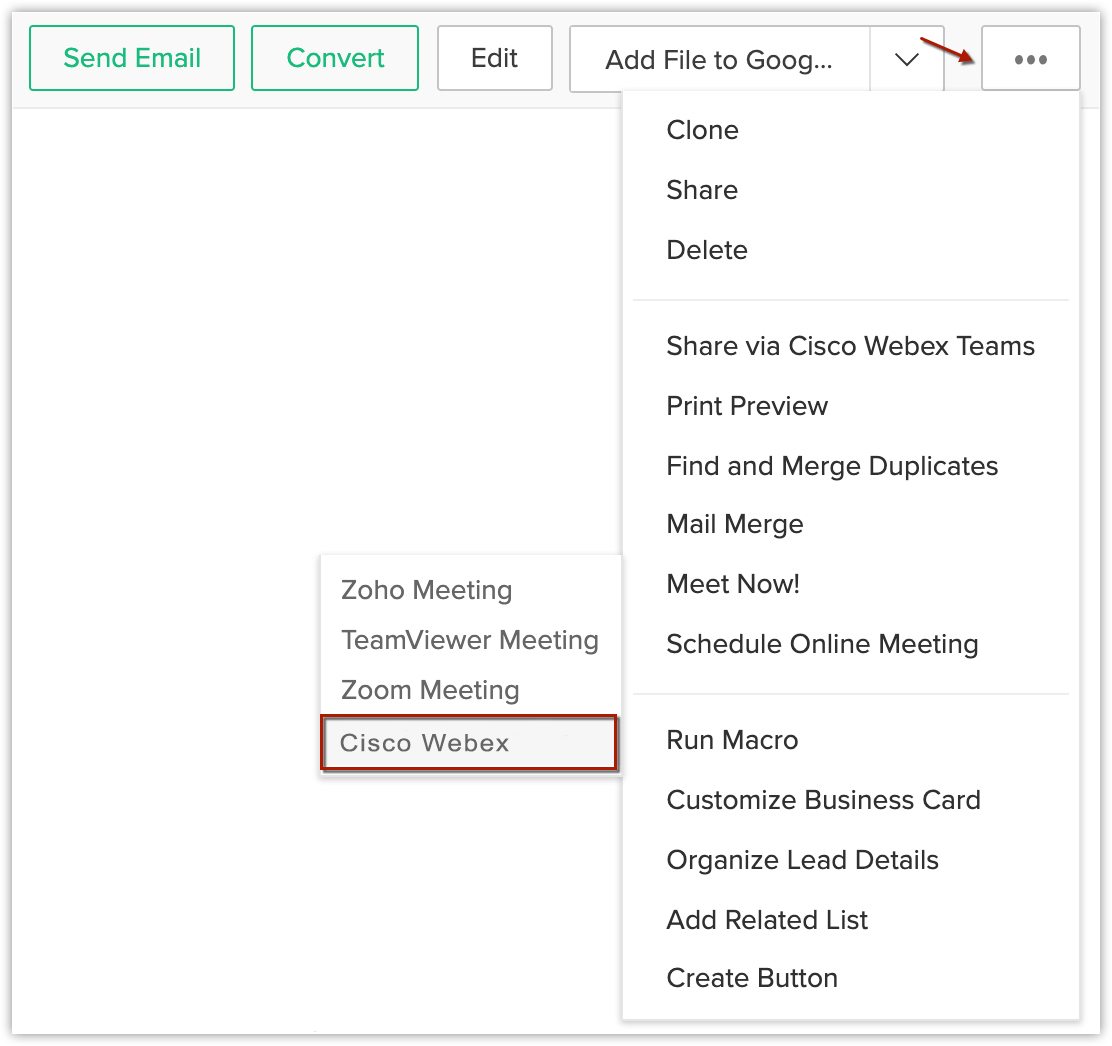
- Enter the Event Information and click Start Meeting.
Scheduling an online meeting with a record
If you wish to set up a meeting with a lead or contact to take place at a particular time, you can schedule an online meeting from the record's details page.
To schedule an Online Meeting
- Go to Leads/Contacts module.
- Select a record.
- Click More > Schedule Online Meeting.
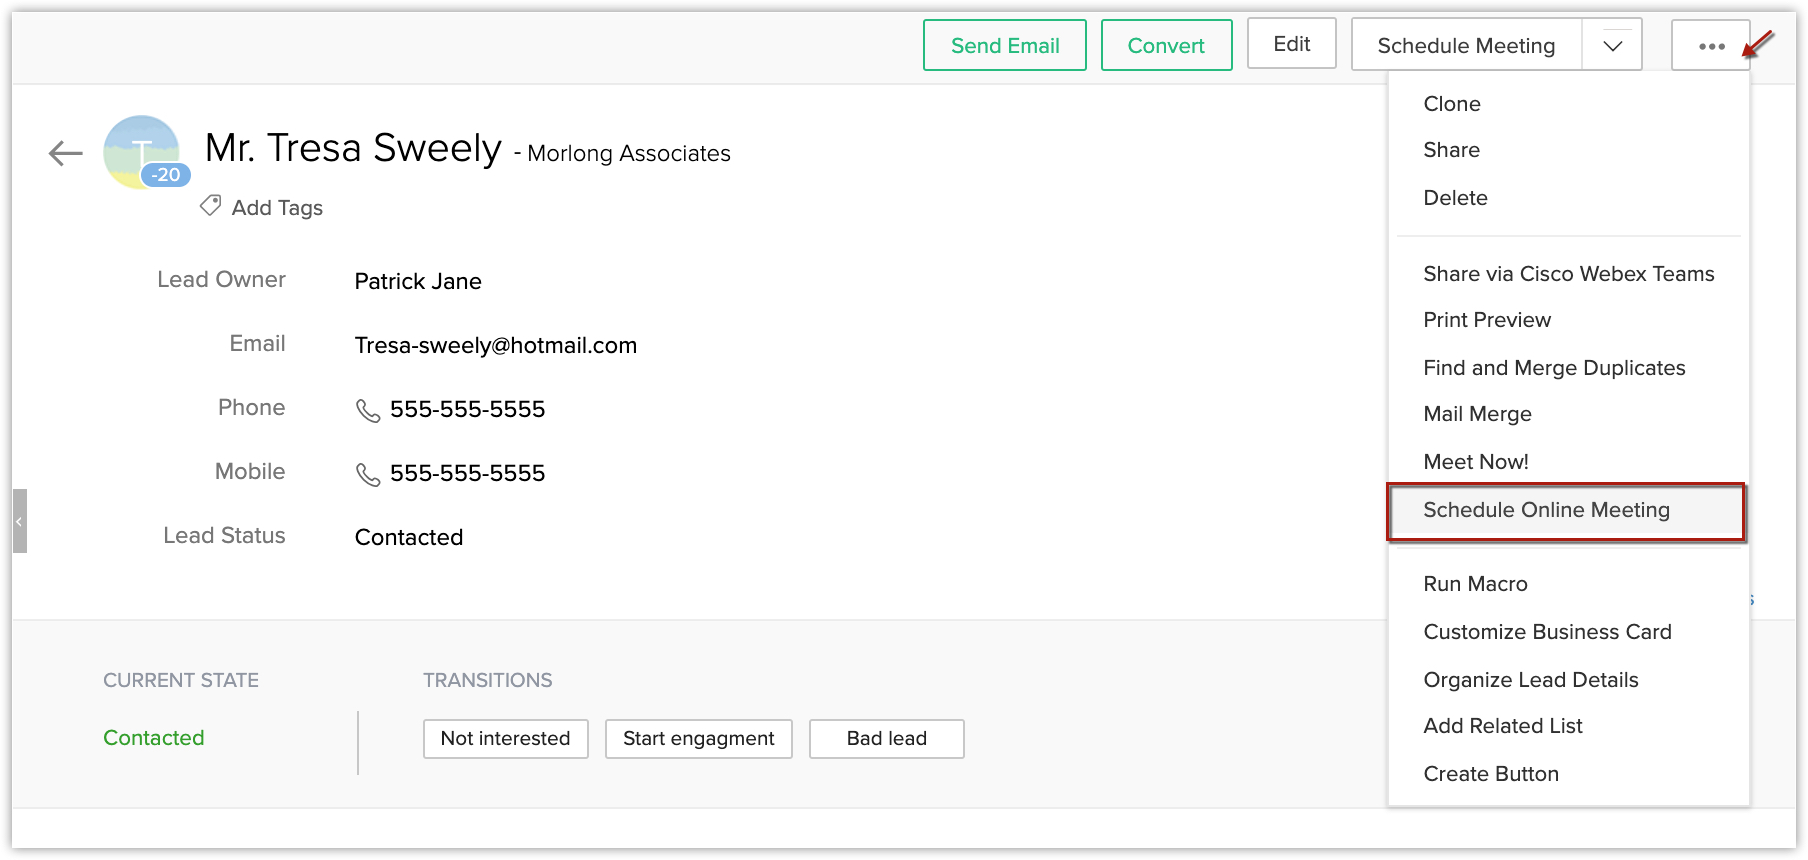
- Enter the Event Information and click Save.
View online meeting in calendar
The online meetings can be viewed from the calendar and are indicated by ![]() icon.
icon.
Start a meeting
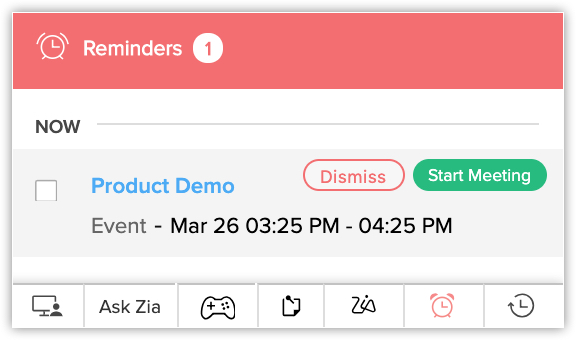
You can start the meeting 15 minutes before the event start time from the record details page and Calendar. The Start Meeting button will appear in the event's notification, 5 minutes before the event could start.
To start a meeting from the record details page
- Go to Meetings module.
- Select a record.
- Click Start Meeting.
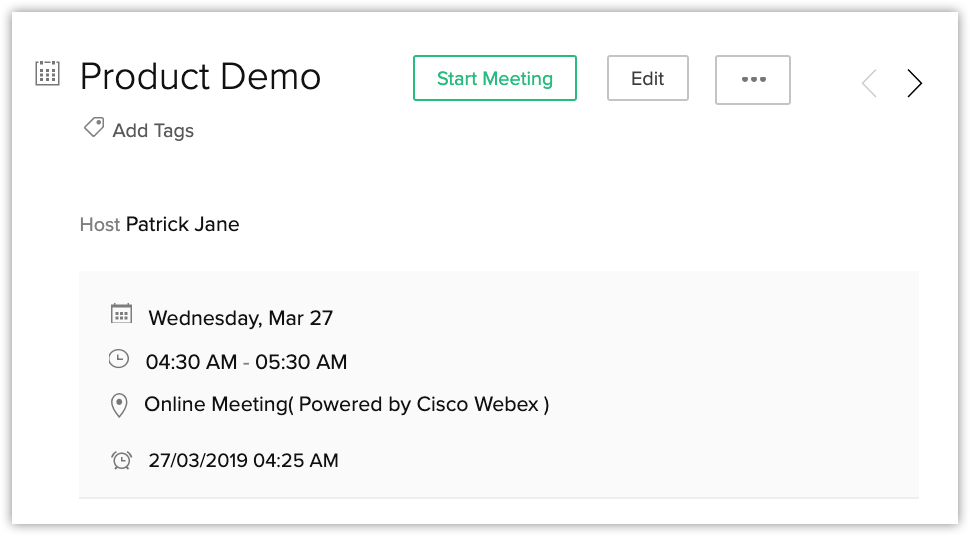
When you are start the meeting for the first time, the Cisco Webex desktop app will be downloaded. - Run the downloaded file.
If you have already installed Cisco Webex, click Launch the App.
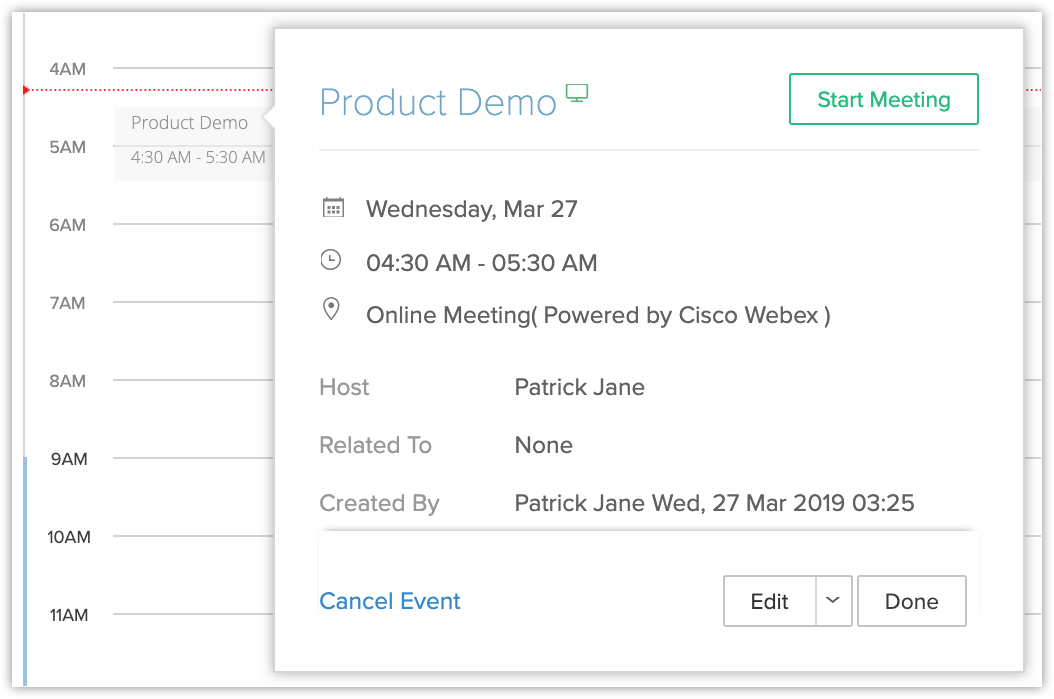
To start the meeting from calendar
- Go to Calendar and select the Date.
- Click the event.
- Click Start Meeting from the popup.
To start meeting from the activity reminders popup
- In the Activity Reminders pop-up, click the Start Meeting button. The Cisco Webex desktop app opens.
Share recording of online meeting
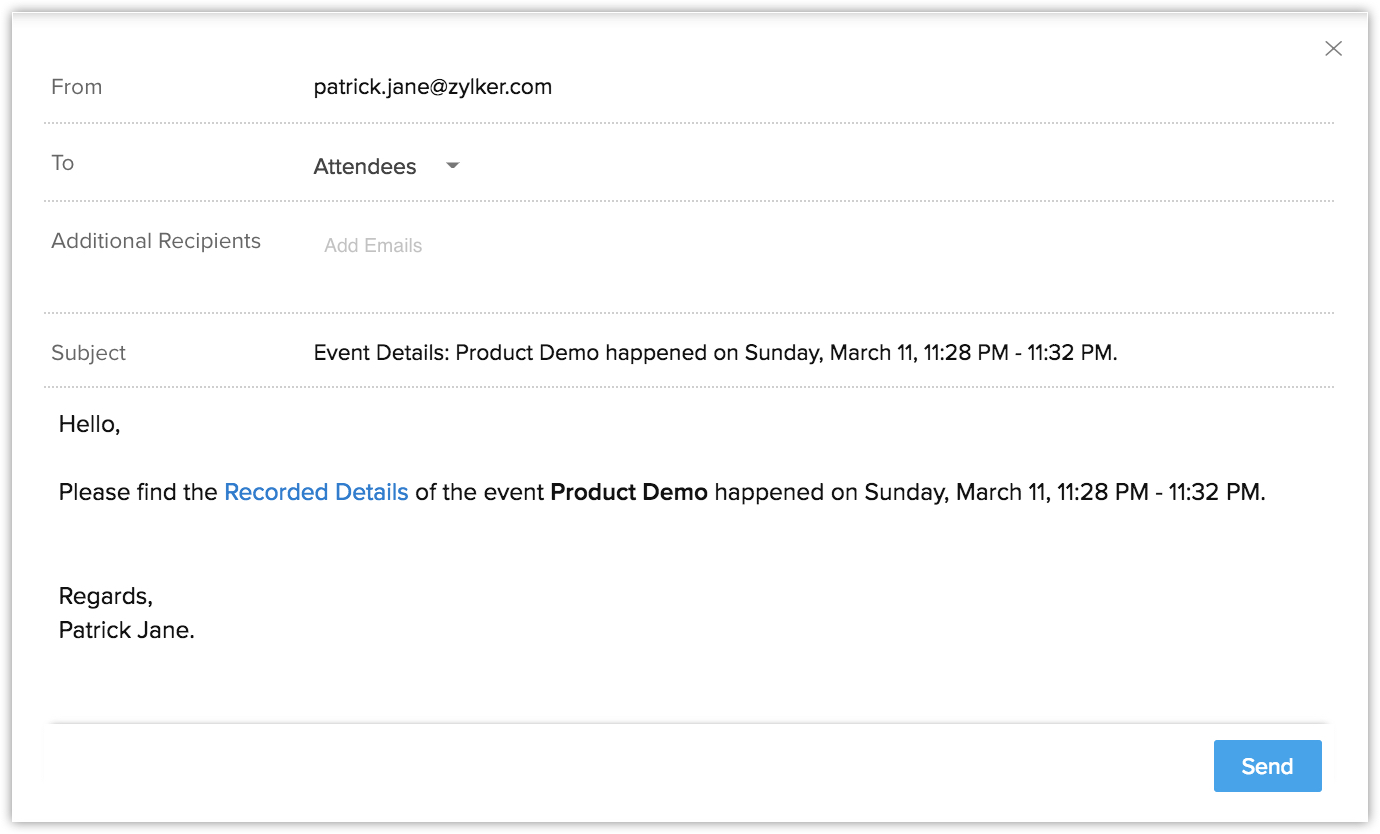
If you have recorded the online meeting, you can share it with, all participants, attendees, people who didn't attend the meeting or anyone else of your choice.
To share recording
- Go to the event details page and click More > Send Recording.

- Choose with whom you want to share the recording from the drop-down list.
- Click Send.
Disable cisco webex integration
To disable Cisco Webex integration
- Go to Setup > Marketplace > All and select the Installed tab.
- Click Uninstall against Cisco Webex.

- Click Ok in the confirmation popup.
- You can also deactivate by clicking Cisco Webex > Disable.
Submit your confirmation in the popup.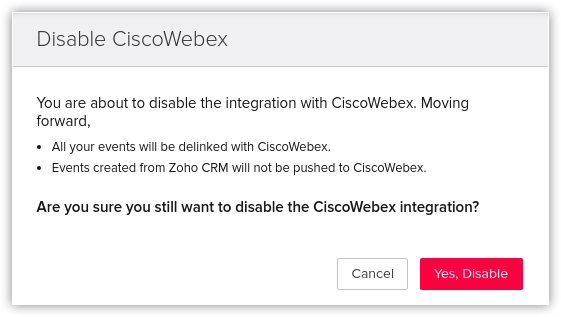
Related Articles
Cisco Telephony Integration
Calls are the primary method of communication for executives with prospects and clients. Your team can make and take calls directly from their sales software by integrating Cisco Unified Communication Manager with Zoho CRM, and you can track the ...Scheduling Reports
You can automatically send reports to your colleagues, executive management and non-Zoho CRM users by scheduling the desired reports daily, weekly, monthly or yearly. Once the Report scheduler is configured, specified reports will be delivered to the ...Voice of the Customer Settings — Enabling, disabling and more.
Enabling VoC CRM admins can enable the feature in the organization's CRM account from Setup. Navigate to Setup > Zia > Voice of Customer . Click Get Started in the VoC landing page. In the Voice of Customer activation page, click Activate. Once the ...FAQs: Workflow Rules
What is a workflow rule? Workflow rules in Zoho CRM are designed to enhance productivity of the users and reduce manual work by automating routine activities in a business process. They allow you to create rules that can trigger different action ...Configuring Workflow Rules
Workflow Rules in Zoho CRM, are a set of actions (email notifications, tasks and field updates) that are executed when certain specified conditions are met. These rules automate the process of sending email notifications, assigning tasks and updating ...